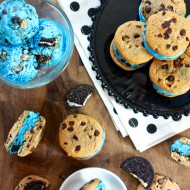
I’ve realized in the past few years that the time period after college but pre-babies is drastically under-photographed. We were all about snapping pics at every moment in college, but besides our wedding (which was just about a year ago!) we don’t have nearly enough photos to document our late twenties. From what I’ve observed from other friends and bloggers, things pick up when babies come along, and then there are more photos than what you know what to do with. But thank goodness for Instagram or else I feel like we’d be practically photo-less for this part of our lives! One of my best friends Michele was our go-to photographer in college and she continues to have a strong presence on Instagram to catalog our adventures together. She’s always more than happy to be the one piping up for a picture for the sake of memories and really cute photos with filters, even if it means asking strangers to snap one for us. For her birthday I made these Instagram cookies and they couldn’t have been more appropriate for my photogenic and photo-loving BFF!
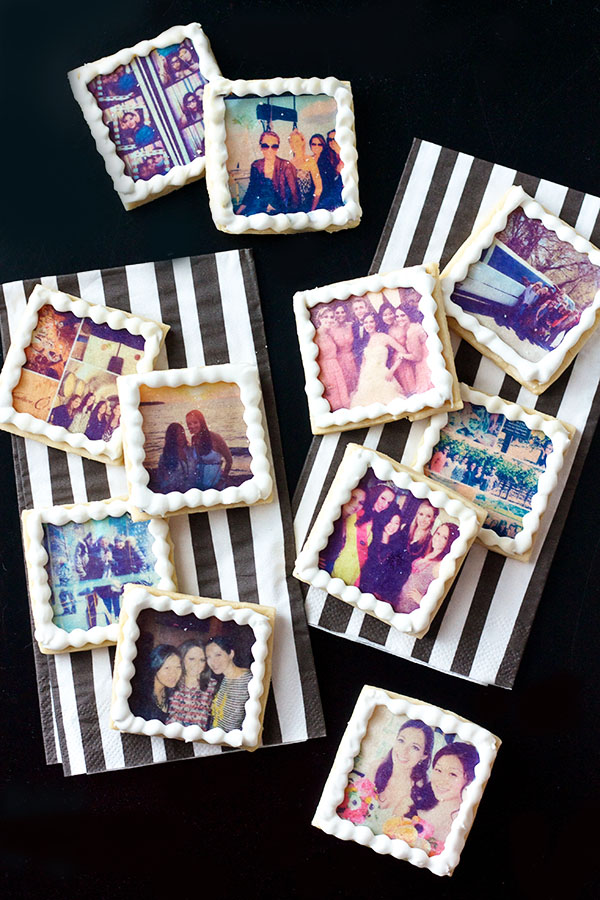
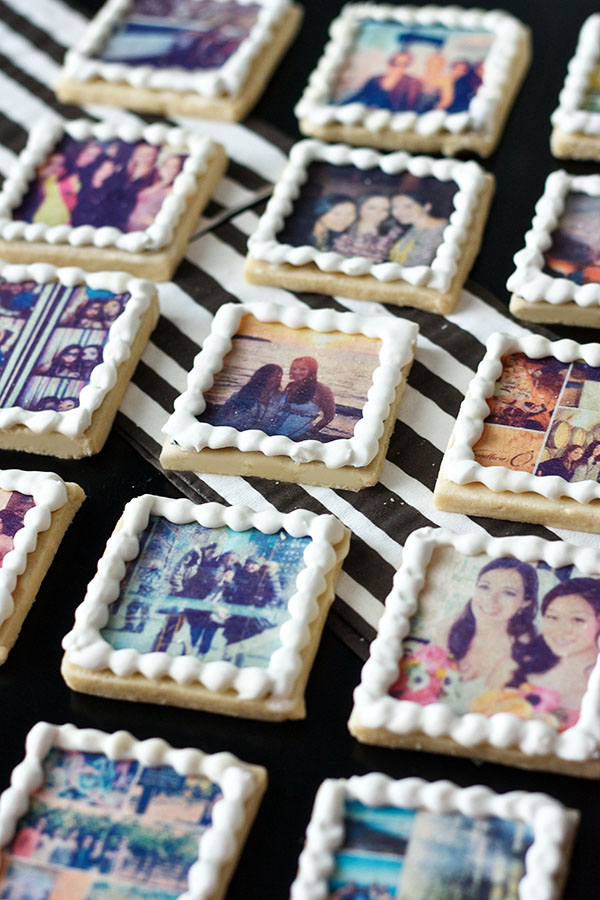
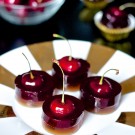
A few years ago Michele gifted me with a set of Stickygram photo magnets that Ryan and I still have on our fridge – they were such a cute gift! She selected nine photos of the two of us to print as magnets so I did the same for her birthday, but made a few more and printed them on edible photo paper and incorporated them into cookies instead. I used the same company as I did for my wedding escort card cookies to make the edible prints, and again they did a great job. I printed an 8×10″ sheet made up of 20 2″ squares of our favorite Instagrams together. A lot of them had to do with my pre-wedding and wedding festivities, and it was so fun to look through our shared photos and memories from 2013-2014. With a simple white royal icing border and my go-to sugar cookie recipe they were almost too pretty to eat!
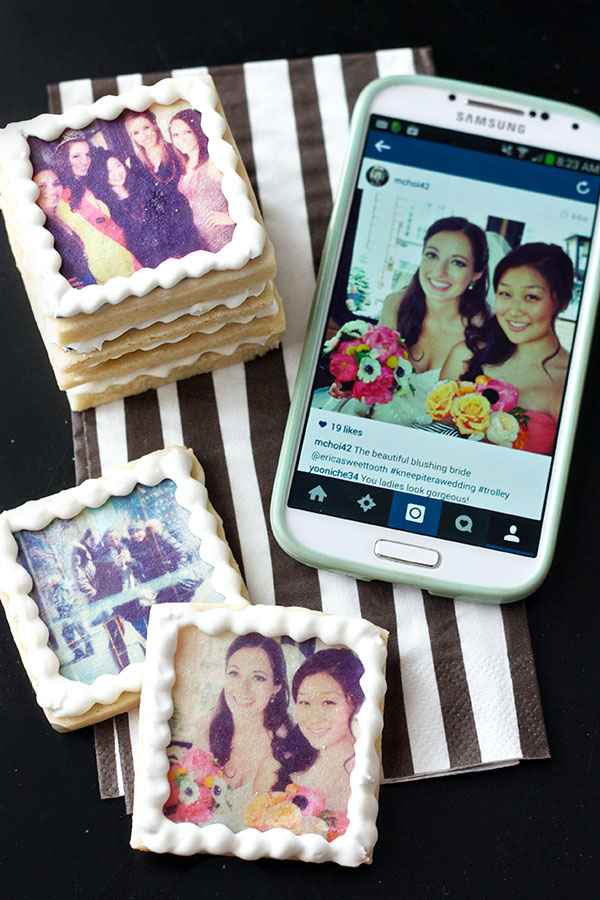
Although I stuck to only Instagram photos, this idea would obviously work for any collection of photos you want to feature in cookie form. I’ve done my parents portraits for anniversary cookies before, but this was fun with the variety of photos and all different filters and subjects. If you’re not comfortable with fancy royal icing decorations for sugar cookies, this is a great cop-out plan that is still extremely impressive! A little bit of icing acts as glue for the edible photo and then whatever kind of border you want is all they take to be photo-ready. And of course I had to take a photo with my phone to Instagram my Instagram cookies…
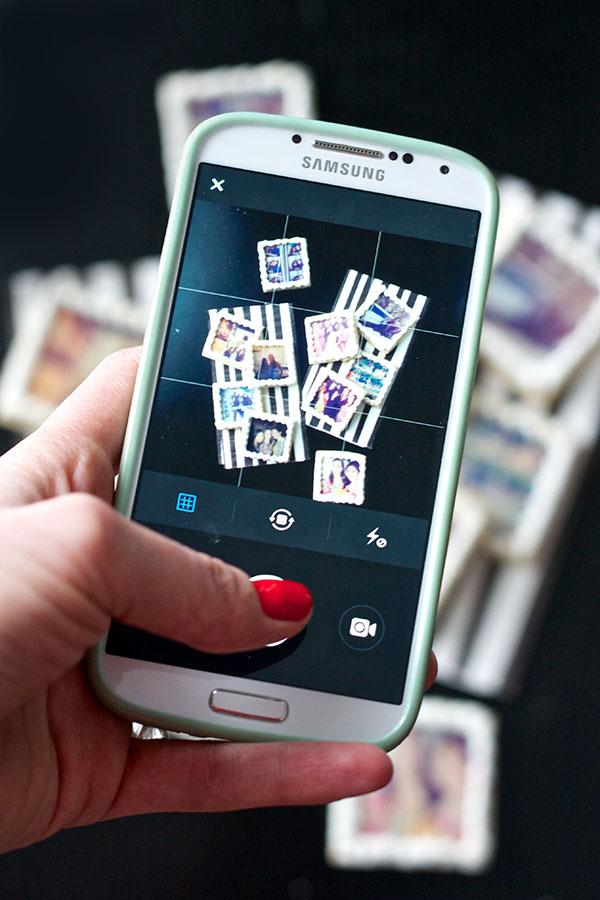
And if you don’t already follow me on Instagram, you should! @ericasweettooth is where you can find me and my friends, sunset shots of NYC, and plenty of baked goods. Happy Instagramming to all and happy belated birthday Michele! Here are some rough guidelines for recreating these cookies if you have a special ‘grammer in your life too. Say cheese!
Instagram Sugar Cookies
Yield: 20 cookies
Ingredients:
1 8x10" edible sheet of 2x2" photos (I ordered mine from Tasty Foto Art)
1/2 batch of royal icing (Here's my go-to recipe)
1/2 batch of sugar cookie dough (My go-to from the same as above)
Directions:
Prepare your sugar cookie dough according to the recipe's instructions and chill in the fridge overnight.
On the day you plan on baking and decorating the cookies, cut out the 2x2" photos from the edible sheet and set aside. You don't want to do this too far in advance so the edible photo paper doesn't have to be exposed to the "elements" any longer than necessary. I received my edible printout about a week before I made the cookies, and just kept them in the envelope they were mailed in until I was ready to use them.
Roll out the sugar cookie dough about 1/4" thick, and use a ruler and a sharp knife or pizza cutter to cut out 2" squares. Bake the cookies according to the recipe's instructions, and allow them to cool completely before decorating.
Once cookies are cooled, make your royal icing. I chose to keep mine white to go with the Instagram look, but you could dye it any color you wish. Just make sure to set aside a small amount of white icing to use as your "glue" for the photos (this glue should be slightly runnier than your piping consistency of royal icing for the border). For the piping icing, you'll want to add less water or more sugar so the borders hold their shapes nicely (mine was a little runnier than I would have liked but I ran out of sugar and couldn't troubleshoot unfortunately). Transfer the stiffer icing to a piping bag with a medium round tip. Spread about 1/2 tsp of the runnier "glue" royal icing onto a cooled cookie with an offset spatula and gently lay an edible photo on top. Use your fingers to gently press down the edges and then pipe a border around each cookie.
Allow the royal icing to set completely before serving or packaging, which usually takes overnight. I recommend storing them in a single layer in an airtight container at room temperature for at least 12 hours before messing with them.


Love the idea!
YOU ARE THE BEST ERICA! I absolutely adored these — such an amazing gift idea and I felt like a million bucks when I got them. You’re right…they were almost too pretty to eat….but then too delicious not to! Love you.